Getting Started for Makerspace Admins
This guide will help you get started as a makerspace administrator in Pinpoint. You'll learn how to access admin features through both the website and kiosk interfaces.
Before You Begin
Make sure you have:
- A UMD account with CAS access
- Admin permissions for your makerspace
- Access to a Pinpoint kiosk (optional)
Requesting a new makerspace
To set up a new makerspace in Pinpoint:
- Email eds@umd.edu with your request
- Include:
- Your name and role
- Makerspace name and location
- Brief description of your space
- List of initial administrators
Accessing Admin Features
There are two ways to access admin features: through the website or through a kiosk.
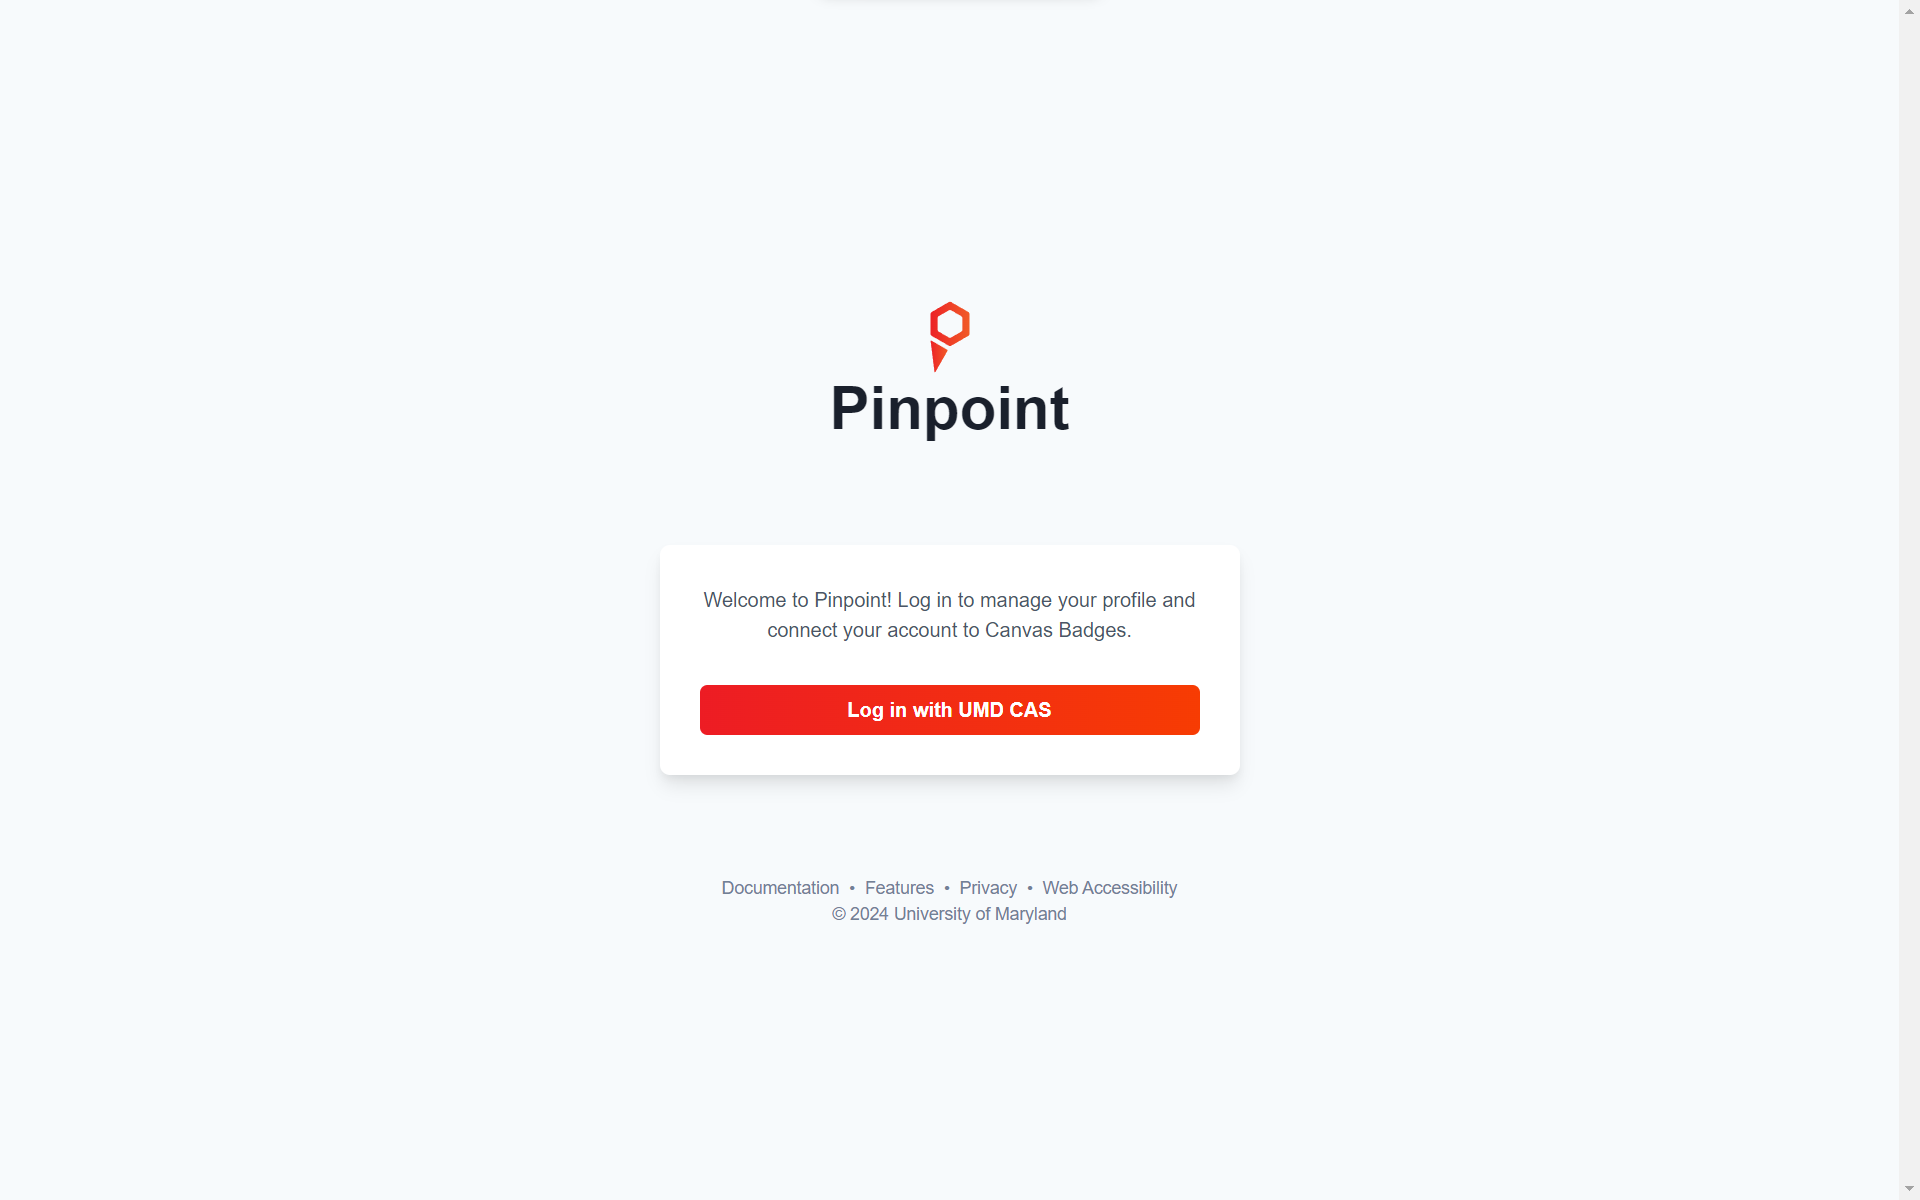
Website Access
- Visit Pinpoint
- Sign in using UMD CAS
- Click 'Adminland' in the upper right corner
Kiosk Access
- Swipe your UID at any Pinpoint kiosk
- Select "Continue as Admin" when prompted
- Enter your PIN if required
Kiosk access provides the same administrative features as the website but is convenient for in-person management.
Next Steps
After gaining access, you can:
- Manage users and permissions
- Set up tool categories
- Configure Parchment Digital Badges
- View active users
Check out our Makerspace Guides for detailed instructions on all administrative features.
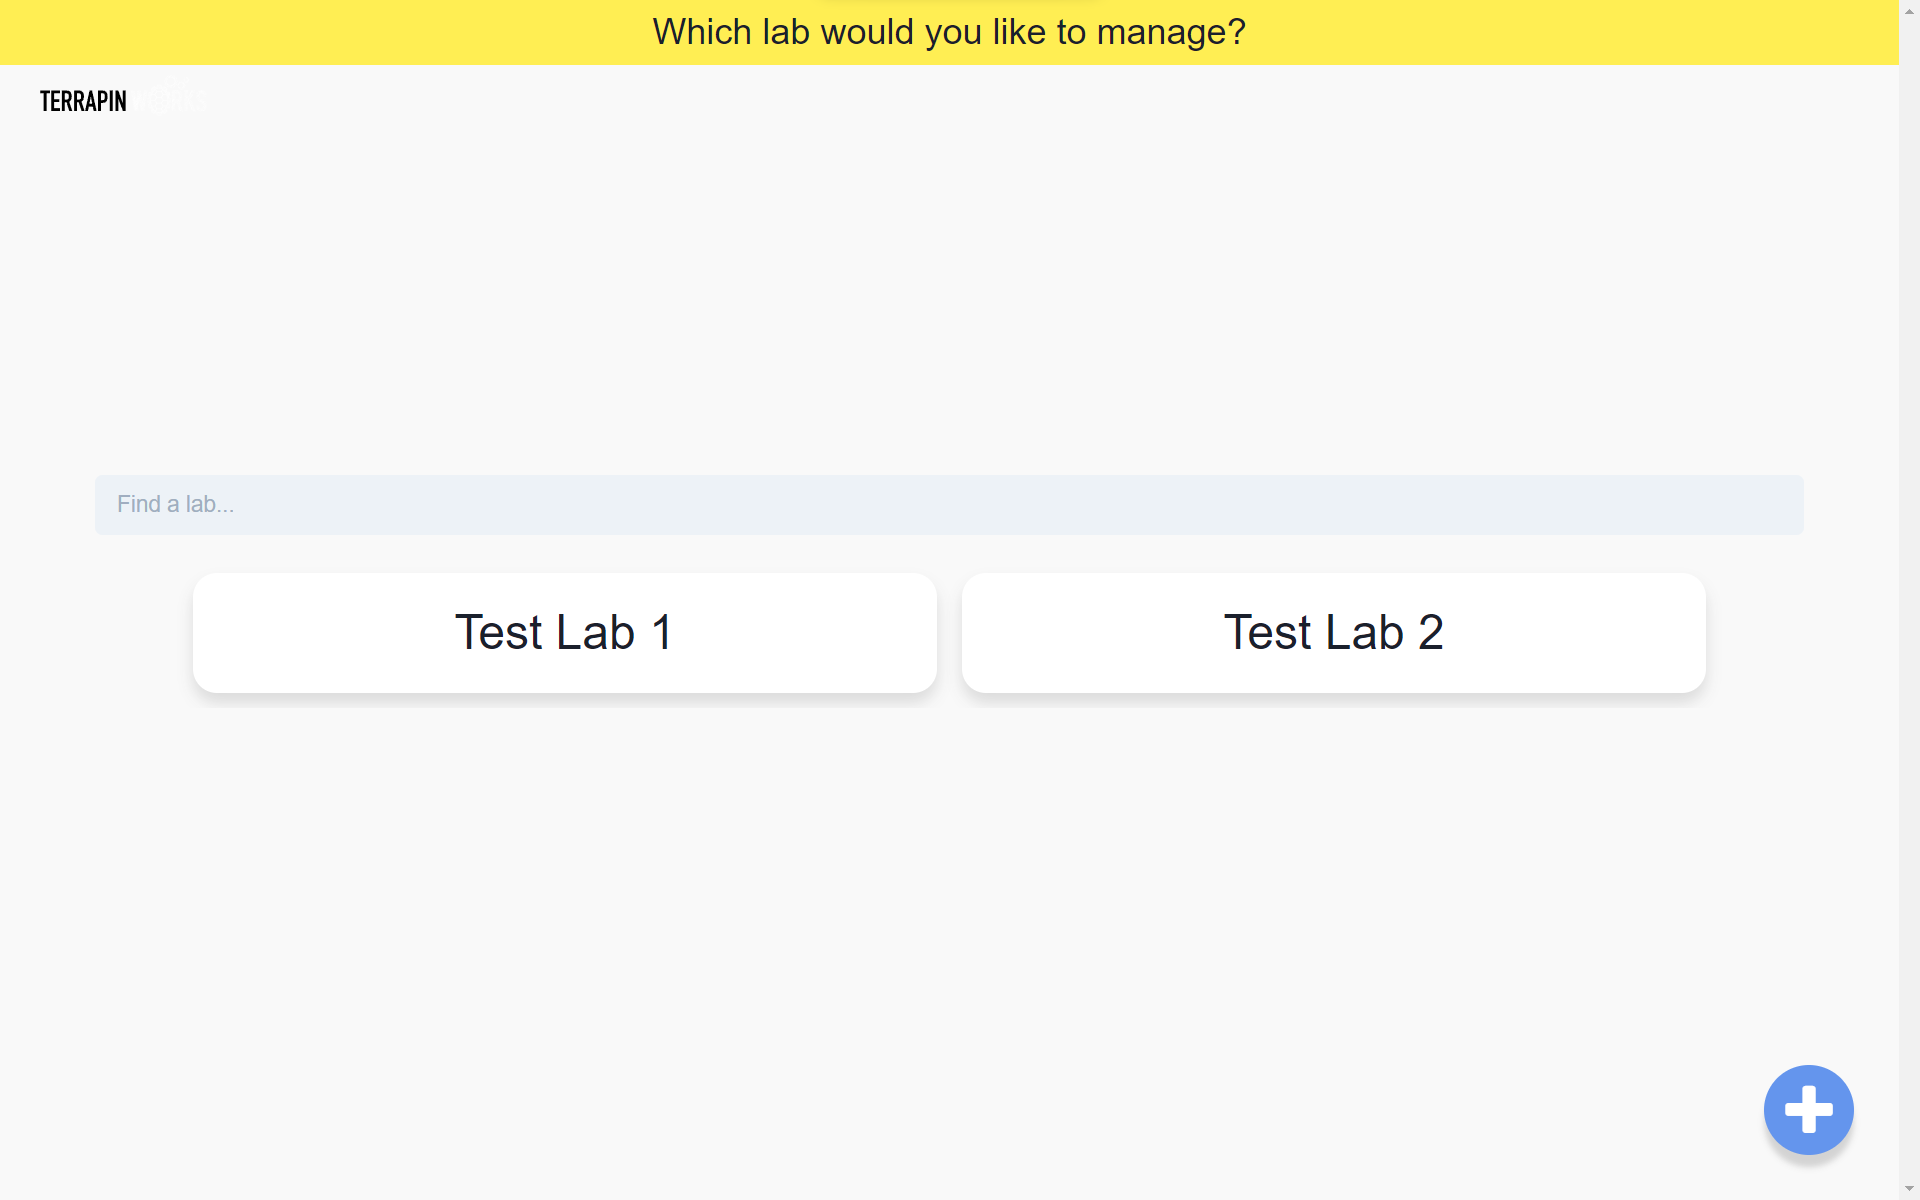
If you are a superadmin, you will see all labs that are managed by Pinpoint. If you are an admin, you will only see the labs that you have permissions for. Select the lab you want to manage.
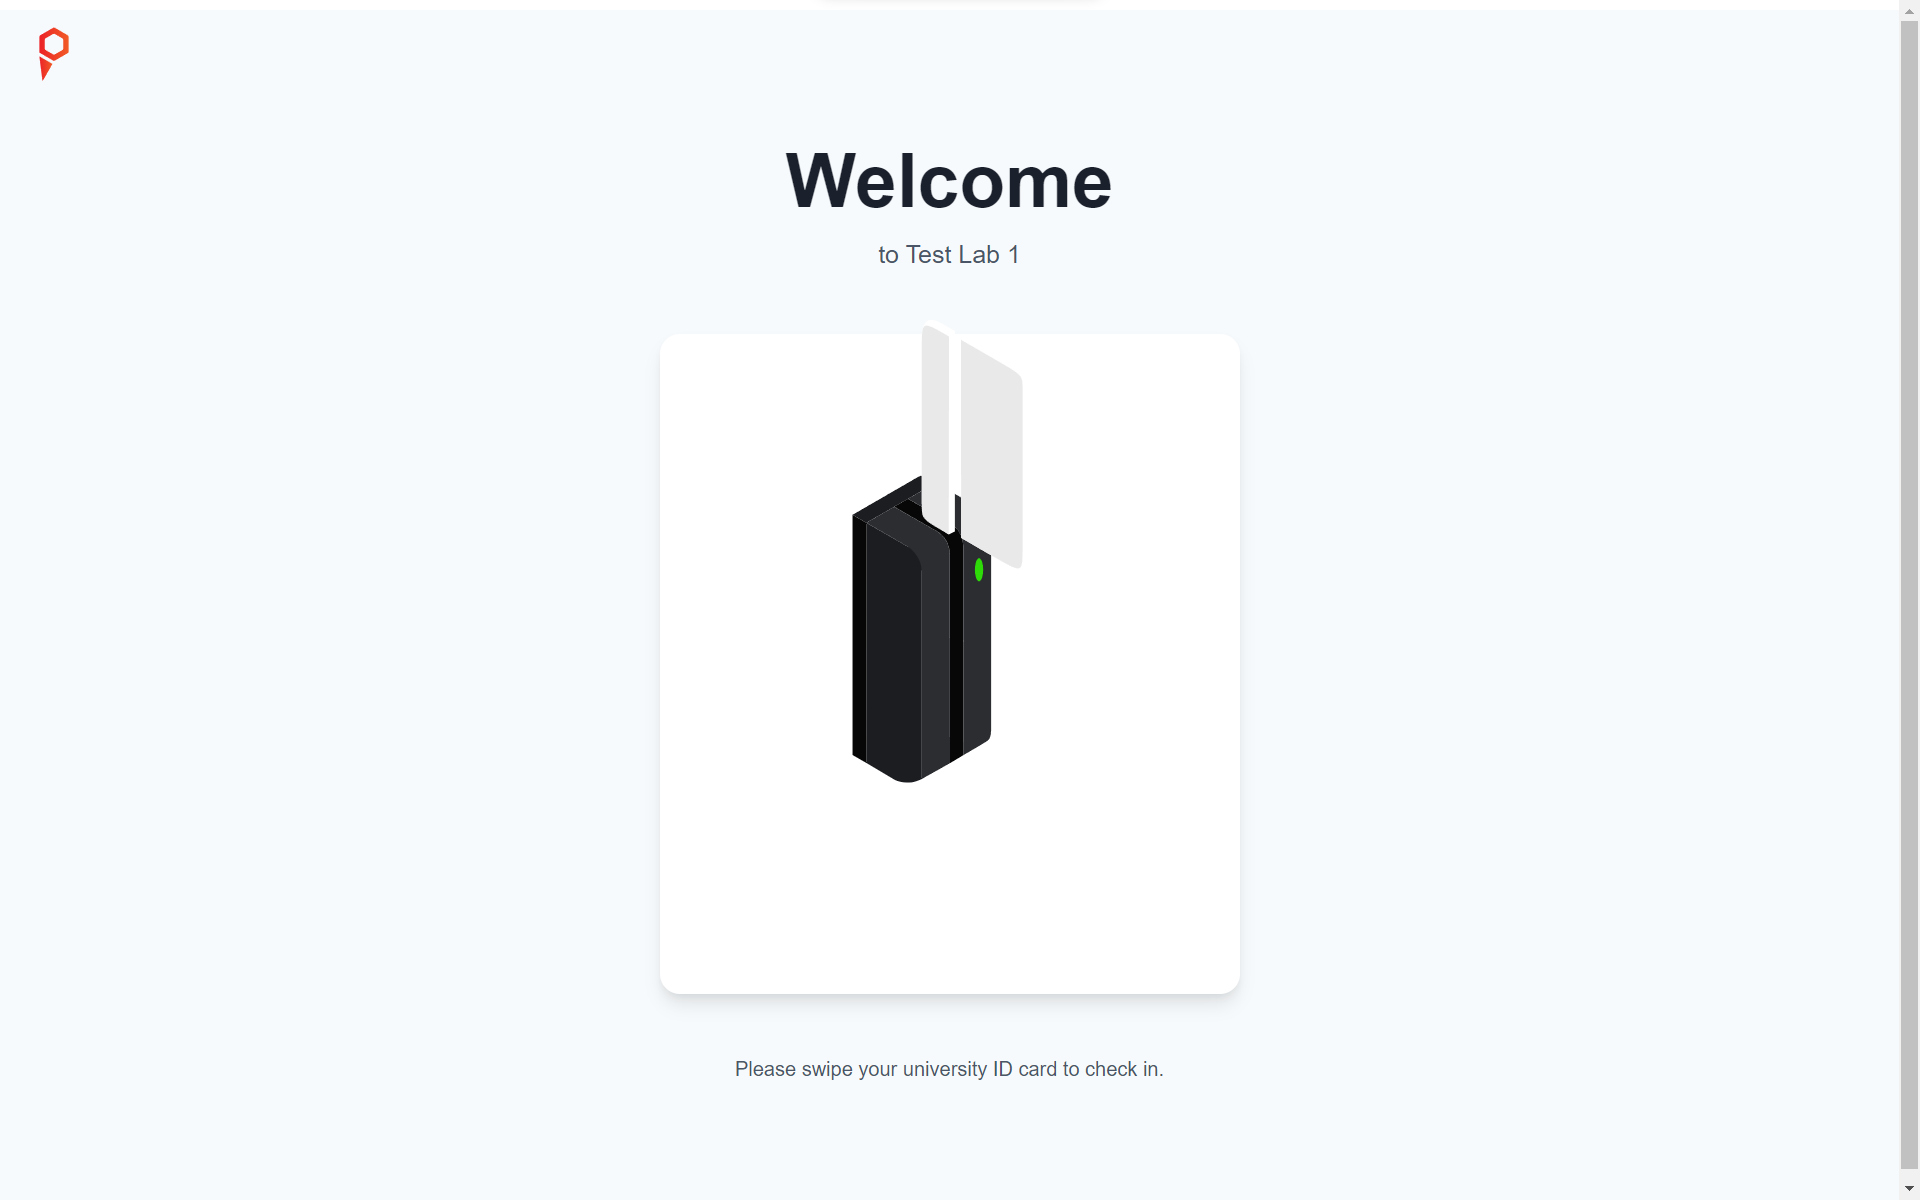
Using Pinpoint kiosk
Swipe your UMD ID at a Pinpoint kiosk.
Initially, you will be directed to the machine selection page for users. To access adminland, click the Adminland button at the top of the page.
If you are a superadmin, you will see all labs that are managed by Pinpoint. If you are an admin, you will only see the labs that you have permissions for. Select the lab you want to manage.
After selecting a makerspace, you'll see a set of options for managing the space. Checkout the other guides in this documentation for more details managing your space.